If your machine-knitted sweater never fits the way it should, the problem isn’t your skill — it’s your gauge.
Machine knitting gauge is the single most important concept in machine knitting. It controls the size, fit, drape, and quality of everything you create. Yet it’s one of the most misunderstood and frequently skipped steps, especially by beginners.
At Rita Cashmere, we work with fine yarns and precision machines every day. We know that truly beautiful knitwear doesn’t begin with the yarn — it begins with understanding gauge.
Whether you’re a home knitter just starting out, an experienced crafter looking to level up, or someone curious about how your favourite cashmere sweater was made, this complete guide covers everything. From what gauge actually means, to understanding the gg system, to measuring, calculating, and fixing gauge problems — it’s all here.
What Is Machine Knitting Gauge?
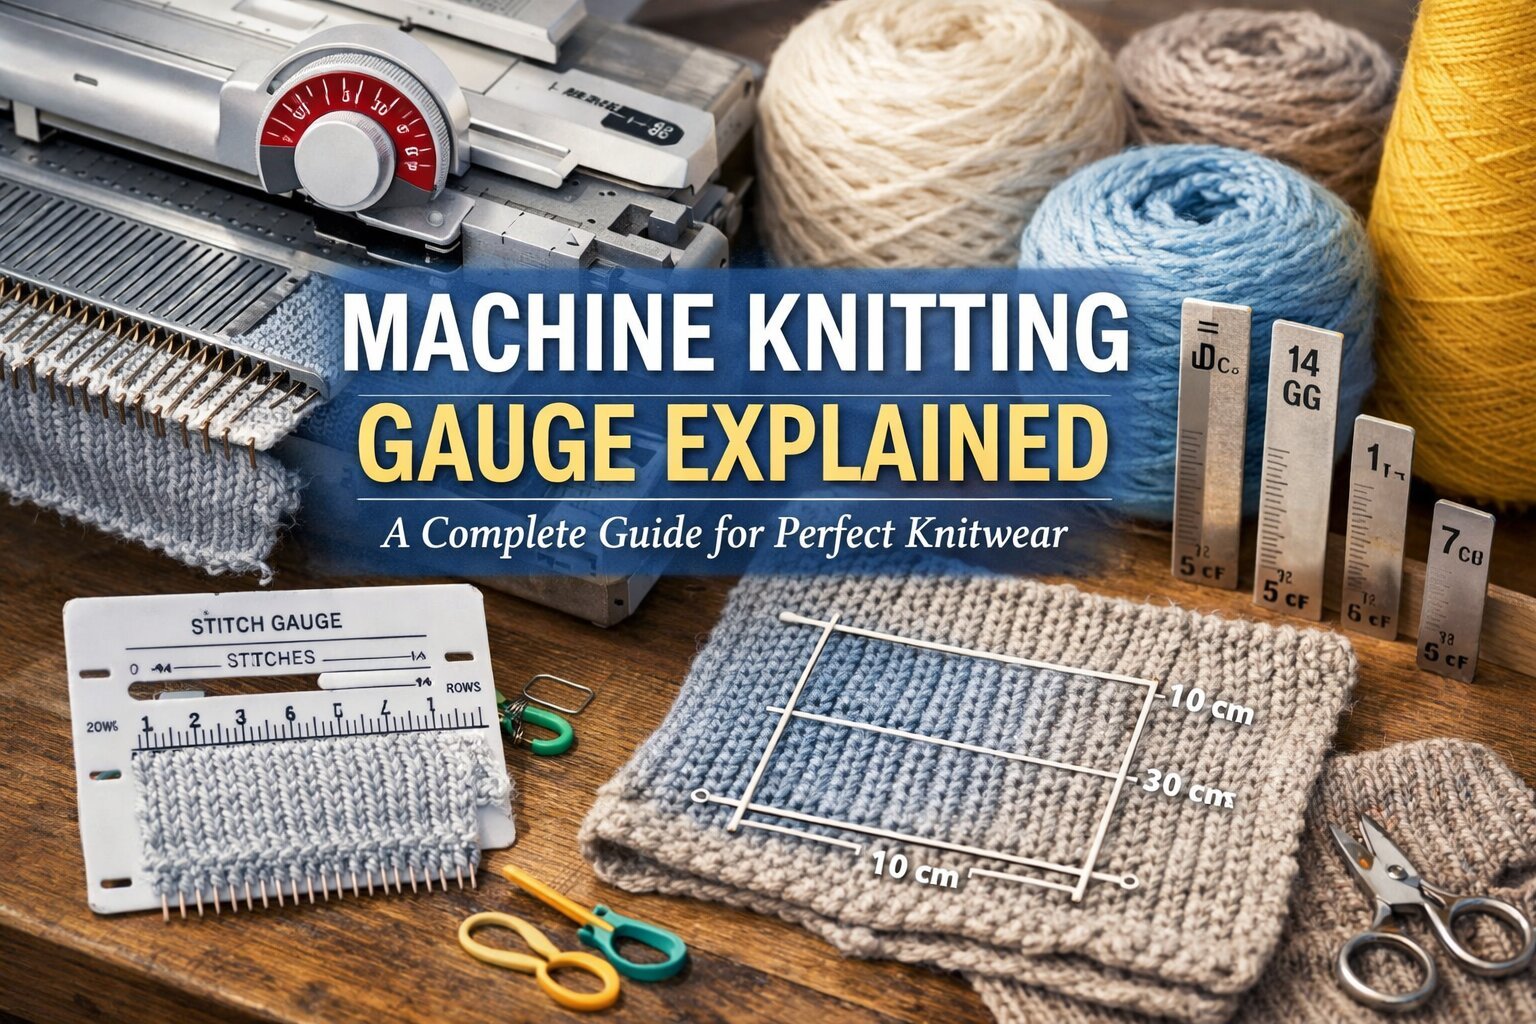
Machine knitting gauge is the number of stitches and rows that fit into 10 cm (4 inches) of knitted fabric, using a specific yarn on a specific machine at a specific tension setting.
Gauge gives you two measurements:
- Stitch gauge — how many stitches fit across 10 cm horizontally
- Row gauge — how many rows fit into 10 cm vertically
For example, a gauge of 28 stitches and 36 rows per 10 cm means exactly 28 stitches side by side and 36 rows stacked on top each measure 10 cm on that fabric.
Every pattern is written for a specific gauge. If yours doesn’t match, your finished piece will come out the wrong size — no matter how perfectly you follow everything else.
Machine Knitting Gauge vs. Hand Knitting Gauge: Key Differences
In hand knitting, gauge is controlled by needle size and your personal tension — how loosely or tightly you hold the yarn. Two knitters using identical needles and yarn can still produce different gauges.
In machine knitting, gauge is controlled by:
- The tension dial (also called stitch size or carriage tension)
- The weight and thickness of the yarn
- The fibre type (wool, cashmere, cotton, acrylic, silk)
- The needle pitch (gg) of your machine
- The stitch pattern being used (stockinette, tuck, slip, lace)
Machine knitting gauge is more mechanical and consistent — but you still cannot borrow another knitter’s tension setting and expect the same result. Every machine behaves slightly differently, even machines of the same model.
What Does GG Mean in Knitting Machines?
This is one of the most confusing things for beginners — and one of the most important to understand.
“GG” stands for gauge, and it refers to the number of needles per inch on your machine’s needle bed. It is a physical measurement of needle spacing — completely separate from your stitch gauge.
- A 3gg machine has 3 needles per inch
- A 7gg machine has 7 needles per inch
- A 14gg machine has 14 needles per inch
The rule is simple:
Low gg = wide needle spacing = thick yarn High gg = tight needle spacing = fine yarn
Machine Knitting Gauge Chart: GG Fully Explained (2.5gg to 16gg)
Here is a complete breakdown of every common machine gauge you will encounter — whether you’re buying a machine, reading a knitwear label, or choosing yarn for a project.
2.5gg — Extra Coarse Gauge
- Needles per inch: 2.5
- Needle spacing: ~10 mm
- Yarn weight: Super bulky (weight 6–7)
- Typical yarns: Thick arm-knitting yarns, super chunky wool, roving
- Best for: Chunky blankets, oversized statement outerwear
- Typical stitch gauge: 8–10 stitches per 10 cm
- Note: Rare in home knitting; found mainly on specialty industrial or hand-flat machines.
3gg — Coarse / Bulky Gauge
- Needles per inch: 3
- Needle spacing: ~8–9 mm
- Yarn weight: Bulky to super bulky (weight 5–6)
- Typical yarns: Chunky wool, chunky acrylic, thick handspun
- Best for: Heavy winter sweaters, thick accessories, blankets
- Typical stitch gauge: 10–13 stitches per 10 cm
- Note: Some industrial flat-bed machines; less common in home knitting.
5gg — Chunky Home Machine Gauge
- Needles per inch: 5
- Needle spacing: ~5 mm
- Yarn weight: Chunky to bulky (weight 4.5–5.5)
- Typical yarns: Chunky wool, thick DK held double, some worsted
- Best for: Chunky sweaters, scarves, hats, afghans
- Machines: Brother KH260 “Chunky”, some Silver Reed chunky models
- Typical stitch gauge: 13–16 stitches per 10 cm
- Note: This is typically what home knitters mean when they say “bulky machine.” It bridges the gap between standard gauge and very coarse industrial gauges.
6.5gg — Mid-Gauge (The Most Versatile Home Machine)
- Needles per inch: 6.5
- Needle spacing: ~4 mm
- Yarn weight: DK to light worsted (weight 3–4)
- Typical yarns: DK wool, DK acrylic, sport weight held double
- Best for: Everyday garments, baby items, thicker accessories
- Machines: Brother KH260 (some versions), Silver Reed mid-gauge models
- Typical stitch gauge: 18–22 stitches per 10 cm
- Note: Many experienced machine knitters consider 6.5gg the most practical home knitting gauge because DK yarn is the most widely available weight in most yarn shops.
7gg — Classic Commercial Knitwear Gauge
- Needles per inch: 7
- Needle spacing: ~3.6 mm
- Yarn weight: DK to light worsted (weight 3–4)
- Typical yarns: DK, light worsted, 4-ply held double
- Best for: Everyday sweaters, cardigans, garments
- Machines: Industrial flat-bed and V-bed machines (Stoll, Shima Seiki); some domestic machines
- Typical stitch gauge: 20–24 stitches per 10 cm
- Note: 7gg is the most common gauge in commercial knitwear production. When you see “7gg” on a brand label, that is a standard-weight sweater of the type sold in most clothing retailers worldwide.
9gg — Fine-Medium Industrial Gauge
- Needles per inch: 9
- Needle spacing: ~2.8 mm
- Yarn weight: Sport to DK (weight 2.5–3.5)
- Typical yarns: Sport weight, fine DK, 4-ply held together
- Best for: Lighter garments, structured knitwear, fine accessories
- Typical stitch gauge: 24–28 stitches per 10 cm
- Note: Uncommon in home knitting but frequently used commercially for transitional-weight garments — lighter than 7gg, not as fine as 12gg.
10gg — Fine Gauge
- Needles per inch: 10
- Needle spacing: ~2.5 mm
- Yarn weight: 4-ply / fingering to sport (weight 2–3)
- Typical yarns: 4-ply wool, fine acrylic, cotton 4-ply
- Best for: Lighter-weight sweaters, fine cardigans
- Typical stitch gauge: 26–30 stitches per 10 cm
12gg — Classic Fine Knitwear Gauge
- Needles per inch: 12
- Needle spacing: ~2.1 mm
- Yarn weight: 4-ply / fingering (weight 1–2)
- Typical yarns: Fine 4-ply wool, fingering weight, fine cotton, fine cashmere blends
- Best for: Fine lightweight sweaters, classic cardigans, dressy knitwear, fine socks
- Machines: Domestic standard gauge machines (Brother, Silver Reed at 4.5 mm pitch are close); common in commercial fine knitwear
- Typical stitch gauge: 28–34 stitches per 10 cm
- Note: 12gg is the sweet spot for fine everyday knitwear. Lightweight spring and summer sweaters, fine merino cardigans, and classic polo-neck jumpers are frequently made here. This is the gauge most people picture when they think of a refined, elegant machine-knitted sweater.
14gg — Luxury Fine Gauge
- Needles per inch: 14
- Needle spacing: ~1.8 mm
- Yarn weight: 2-ply / lace to fine fingering (weight 0–1)
- Typical yarns: 2-ply wool, fine cashmere, fine merino, silk blends, lace yarns
- Best for: Luxury garments, fine layering pieces, high-end fashion knitwear
- Machines: Fine-gauge industrial machines; some very fine domestic machines
- Typical stitch gauge: 32–40 stitches per 10 cm
- Note: At Rita Cashmere, much of our finest work lives at this gauge. 14gg produces beautifully light, drapey fabric perfect for cashmere and fine merino. Yarn must be very smooth and even — the needle spacing leaves no room for thick-thin inconsistency.
16gg and Above — Ultra Fine / Industrial Only
- Needles per inch: 16+
- Needle spacing: ≤1.6 mm
- Yarn weight: Ultra-fine lace (weight 0)
- Typical yarns: Ultra-fine cashmere, fine silk, lace-weight yarn
- Best for: Luxury hosiery, couture knitwear, sheer layering
- Note: Specialist industrial territory only. Used for high-end hosiery, fine cashmere goods, and couture pieces. Home knitters will not typically encounter these unless working in a professional fashion context.
GG at a Glance: Complete Quick Reference Chart
| GG | Needles/Inch | Needle Spacing | Yarn Weight | Best For |
|---|---|---|---|---|
| 2.5gg | 2.5 | ~10 mm | Super Bulky | Blankets, chunky statement pieces |
| 3gg | 3 | ~8–9 mm | Bulky | Heavy outerwear, thick blankets |
| 5gg | 5 | ~5 mm | Chunky | Chunky sweaters, hats, scarves |
| 6.5gg | 6.5 | ~4 mm | DK–Light Worsted | Everyday garments, baby knits |
| 7gg | 7 | ~3.6 mm | DK–Worsted | Commercial sweaters, everyday knitwear |
| 9gg | 9 | ~2.8 mm | Sport–DK | Lighter garments, structured knitwear |
| 10gg | 10 | ~2.5 mm | 4-ply–Sport | Fine cardigans, lighter tops |
| 12gg | 12 | ~2.1 mm | Fingering–4-ply | Fine sweaters, classic knitwear |
| 14gg | 14 | ~1.8 mm | 2-ply–Lace | Luxury cashmere, fine fashion knitwear |
| 16gg+ | 16+ | ≤1.6 mm | Ultra-fine | Hosiery, couture, industrial only |
What GG on Knitwear Labels Means
You’ll often see gg printed on the label inside a commercially made garment. Once you understand the system, it tells you a great deal:
- 3gg — thick, heavily textured chunky knit; the cosy oversized sweater style popular each autumn/winter season
- 7gg — classic mid-weight knit; the standard weight of a typical crew-neck or V-neck sweater
- 12gg — fine-knit; lighter, with a refined, close-knit appearance
- 14gg — luxury fine-knit; often cashmere or fine merino, very lightweight and smooth to the touch
How to Find Out the GG of Your Machine
- Check the machine’s manual. The gg is always in the technical specifications section.
- Search the model number online. For example: “Brother KH940 gauge” — the specification appears quickly.
- Measure it yourself. Using a ruler, count how many needles fit into exactly one inch (2.54 cm) on the needle bed. That number is your gg.
Understanding Machine Needle Pitch: The Three Home Knitting Categories
For home knitters, machines fall into three practical categories:
Standard Gauge (Fine Gauge)
- Pitch: 4.5 mm apart (~12gg)
- Best for: 2-ply, 3-ply, 4-ply, fingering weight, some DK
- Examples: Brother, Singer, Silver Reed standard gauge
- Typical stitch gauge: 26–32 stitches per 10 cm
Mid-Gauge
- Pitch: 6.5 mm apart (~6.5gg)
- Best for: DK, light worsted, sport weight
- Examples: Brother KH260, some Silver Reed models
- Typical stitch gauge: 18–22 stitches per 10 cm
Bulky Gauge
- Pitch: 9 mm apart (~5gg)
- Best for: Worsted, chunky, bulky, super bulky
- Examples: Brother KH930, Bond knitting machines
- Typical stitch gauge: 10–16 stitches per 10 cm
Always match your yarn weight to your machine’s needle pitch first. A chunky yarn will jam a standard gauge machine’s needles. A fine 2-ply will produce loose, unstable fabric on a bulky machine. Pitch first — tension dial second.
The Tension Dial: Your Primary Machine Knitting Gauge Control
The tension dial controls how large or small each stitch is formed. Typically numbered 0 (tightest) to 10 (loosest):
- Lower number = tighter tension = smaller stitches = more stitches per 10 cm
- Higher number = looser tension = larger stitches = fewer stitches per 10 cm
When the carriage passes across the needle bed, the tension dial controls how much yarn is drawn into each stitch. Less yarn = smaller, firmer stitch. More yarn = larger, drapier stitch.
Tension Starting Points by Yarn Weight
| Yarn Weight | Standard Gauge | Mid-Gauge | Bulky Gauge |
|---|---|---|---|
| Lace / 1-ply | T2–T4 | — | — |
| Fingering / 2-ply | T4–T6 | — | — |
| Sport / 3-ply | T6–T7 | T2–T4 | — |
| DK / 4-ply | T7–T9 | T4–T6 | — |
| Worsted | — | T6–T8 | T2–T5 |
| Chunky / Bulky | — | — | T4–T7 |
These are starting points. Your specific yarn and machine will always require a swatch to confirm.
How to Measure Machine Knitting Gauge: Step-by-Step
Step 1: Cast On and Knit Your Swatch
Cast on at least 50–60 stitches in the centre of the needle bed. Knit at least 60–80 rows using the same yarn and stitch pattern you’ll use for your actual project. Different stitch patterns — tuck, slip, lace — produce different gauges even at the same tension setting.
Step 2: Remove and Rest
Remove the swatch using waste yarn. Never measure on the machine — the fabric is under vertical tension and gives a false reading. Rest flat for at least 15–30 minutes; overnight for natural fibres.
Step 3: Wash and Block
This is the step most beginners skip — and the most consequential. Cashmere and wool fabrics can change noticeably after their first wash. Wash and block your swatch exactly as you plan to care for your finished garment. Let it dry completely before measuring.
Step 4: Measure
Lay flat on a firm surface. Using a ruler:
- Stitch gauge: Lay ruler horizontally. Count stitches (V-shapes) across exactly 10 cm from the centre of the swatch.
- Row gauge: Lay ruler vertically. Count rows (horizontal ridges) across 10 cm.
Measure at three different spots and average the results.
Step 5: Compare and Adjust
- Too many stitches in 10 cm: Stitches are too small. Increase your tension dial number.
- Too few stitches in 10 cm: Stitches are too large. Decrease your tension dial number.
- Gauge matches: You’re ready.
Re-swatch after every adjustment until your gauge matches the pattern’s requirement.
Stitch Gauge vs. Row Gauge: Which Matters More?
Stitch Gauge (Horizontal) — Almost Always More Critical
Width is determined by stitch gauge. A difference of just 1 stitch per 10 cm across a 50 cm wide garment equals 5 missing or extra stitches — several centimetres of size difference. Always prioritise matching stitch gauge first.
Row Gauge (Vertical) — Critical in Specific Situations
Most modern patterns give length in centimetres rather than row counts, so you can adjust by knitting to the measurement. Row gauge becomes critical when:
- A pattern says “knit X rows” rather than “knit until piece measures X cm”
- Shaping (increases, decreases) is spaced by row count
- Matching pieces must align precisely, such as sleeves into armholes
How GG and Stitch Gauge Work Together
Your machine’s gg sets the range of stitch gauges that are physically possible. Within that range, the tension dial fine-tunes your exact result. Your yarn choice within the appropriate weight range further affects the final fabric.
All three — machine gg, tension dial, and yarn weight — work together.
Practical Example: DK Yarn on Different GG Machines
| Machine | Result with DK Yarn |
|---|---|
| 3gg | Too loose — gaps visible, floppy fabric even at tightest tension |
| 5gg | Acceptable but still loose — suitable only for intentionally drapey projects |
| 6.5gg or 7gg | Perfect match — balanced, well-structured fabric |
| 12gg or 14gg | Too thick — will jam carriage, bend or break needles |
Common Machine Knitting Gauge Problems and How to Fix Them
Problem 1: Gauge Is Consistent But Wrong Overall
Cause: Tension dial setting doesn’t suit the yarn.
Fix: Adjust by 0.5–1 number in either direction and re-swatch.
Problem 2: Uneven Gauge Across the Swatch
Cause: Uneven yarn feeding from cone, dirty machine, or damaged needles.
Fix: Clean and oil the machine. Check yarn tension mast and feeder. Replace bent or damaged needles.
Problem 3: Gauge Differs Between Swatch and Actual Project
Cause: Different stitch count, switched yarn lots, or changed knitting conditions. Fix: Use the same yarn lot throughout. Re-swatch when switching cones. Some knitters swatch with the exact stitch count they’ll use in the project.
Problem 4: Gauge Matches Before Washing, Not After
Cause: Natural fibre shrinkage not accounted for.
Fix: Always wash and block your swatch first. For cashmere and wool, consider pre-washing yarn before the project, or factor shrinkage into your calculations.
Problem 5: Stockinette Gauge Matches But Pattern Stitch Gauge Doesn’t
Cause: Tuck, slip, and lace stitches consume yarn differently and produce different gauges.
Fix: Always swatch in the actual stitch pattern you’ll be using.
How to Calculate Your Own Knitting Pattern Using Gauge
Once you understand gauge, you can design your own patterns with simple maths.
Calculating Stitches Needed
Stitches = (Desired width in cm ÷ 10) × Stitch gauge
Example: 50 cm wide piece at 28 sts/10 cm → (50 ÷ 10) × 28 = 140 stitches
Calculating Rows Needed
Rows = (Desired length in cm ÷ 10) × Row gauge
Example: 60 cm long piece at 36 rows/10 cm → (60 ÷ 10) × 36 = 216 rows
These two formulas let you size any pattern up or down, convert between gauges, or draft original designs from scratch.
Converting Patterns Between Different GG Machines
The Conversion Formula
New stitch count = (Original stitches ÷ Original gauge) × New gauge
Example: Pattern calls for 120 stitches at 28 sts/10 cm. You’re knitting on a bulky machine at 14 sts/10 cm.
(120 ÷ 28) × 14 = 60 stitches
Apply the same logic to row counts. For simple rectangles like scarves and blankets, conversion is straightforward. For shaped garments with armholes, necklines, and sleeves, use this as a starting point and adjust as you work through the shaping.
Machine Knitting Gauge by Project Type
| Project | Gauge Criticality | Notes |
|---|---|---|
| Garments (sweaters, cardigans) | Extremely High | Swatch, wash, block, measure every time |
| Fitted accessories (hats, socks) | High | Fit is non-negotiable — always swatch |
| Scarves and cowls | Medium | Width flexibility makes errors less critical |
| Blankets and home goods | Low–Medium | Only critical if targeting specific dimensions |
| Exploring a new yarn | N/A | Swatch at multiple tensions to understand the fibre |
Tips for Consistent Machine Knitting Gauge
Keep a knitting journal. Log every swatch — yarn brand, weight, fibre, machine, tension setting, pre-wash and post-wash measurements. This becomes your personal reference library over time.
Store swatches with labels. A physical swatch alongside its gauge data is far more useful than numbers alone. Being able to feel the fabric is irreplaceable.
Check your machine regularly. A dirty, unlubricated machine with bent needles produces inconsistent gauge. Clean and oil frequently; replace damaged needles promptly.
Respect yarn lot differences. Even the same yarn across different dye lots can vary slightly in thickness. Do a quick gauge check when switching cones mid-project.
Give cashmere and fine fibres extra care. Fine cashmere and merino tend to bloom and soften after washing, which affects gauge noticeably. Always block these swatches fully before measuring.
Swatch in the round when needed. If knitting in the round with a ribber attachment, swatch in the round — the gauge can differ slightly from flat knitting.
Frequently Asked Questions About Machine Knitting Gauge
Do I really need to swatch every time?
For garments and fitted accessories — yes, always. For non-fitted items with familiar yarn, experience sometimes guides you. But swatching is always the safest approach.
My stitch gauge matches but my row gauge doesn’t. What do I do?
Prioritise stitch gauge. Knit to centimetre measurements rather than row counts wherever your pattern allows.
Can I use any yarn as long as I adjust the tension?
No. The yarn must suit your machine’s gg. Tension adjustment only works within the appropriate weight range for your specific needle pitch.
Why does gauge look different at the edges versus the centre of my swatch?
Edge stitches are always distorted. Measure from the centre of your swatch, at least 3–5 stitches away from any edge.
My pattern doesn’t give a gauge. What do I do?
Swatch anyway. Choose a tension that produces the fabric hand and drape you want, measure your gauge, and calculate your stitch and row counts from there.
What is the best machine gauge for cashmere?
For fine cashmere yarns, 12gg or 14gg is ideal. These gauges allow cashmere to drape and bloom beautifully. For cashmere-wool blends or chunkier cashmere weights, 7gg or 9gg may be more appropriate depending on the yarn’s thickness.
Conclusion
Machine knitting gauge is the foundation of every successful knitting project — and now you understand it completely.
Here is everything in summary:
- Machine knitting gauge is stitches and rows per 10 cm, specific to your yarn, machine, and tension setting
- GG means needles per inch — a physical measurement of needle spacing, not stitch count
- From 2.5gg (super chunky) to 14gg (luxury fine cashmere), each gauge is designed for specific yarn weights
- Needle pitch (gg) sets the range; the tension dial fine-tunes within it; yarn choice affects the final result
- Swatch, wash, block, measure — in that order, every time, for every garment
- Stitch gauge controls width and is almost always the priority
- Simple formulas let you calculate, adapt, and convert any pattern
Whether you’re knitting a fine 14gg cashmere piece or a chunky 5gg winter scarf, these principles are universal. Once gauge becomes a non-negotiable part of your process, your knitwear will consistently come out exactly the way you intended.
At Rita Cashmere, we believe the finest knitwear begins not with the most expensive yarn — but with the most careful preparation. Gauge is where that preparation starts.
Have questions about gauge, yarn selection, or caring for your cashmere knitwear? Browse our full knitting guides or reach out to the Rita Cashmere team — we’re always happy to help.